Basic Cap
 This simple cap has a fitted brim and a semi circular, puffed crown that can be adjusted to fit with drawstrings at the neck. Although this cap is not taken directly from any particular period, I think it looks best with late 18th century and early 19th century styled/inspired gowns since the way the crown is shaped conveniently accommodates the hairstyles of the time. This pattern could also be used for a cozy nightcap, made out of cotton for summertime wear or flannel (wool or canton) for cooler weather.
 Pattern:
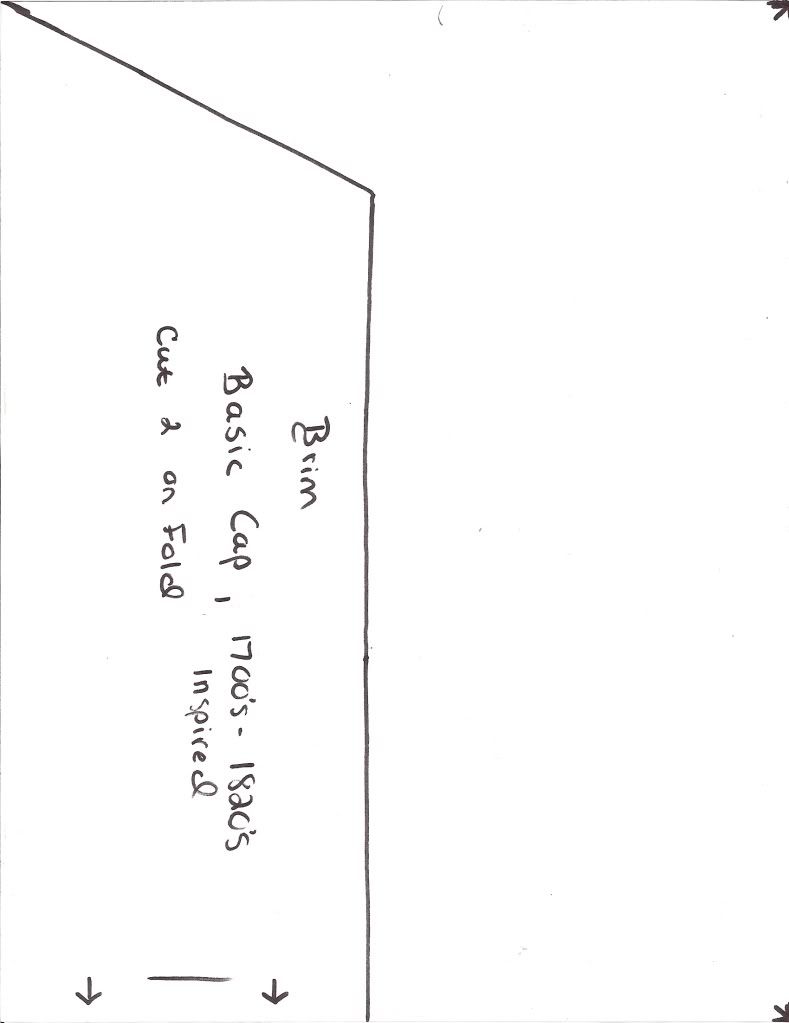
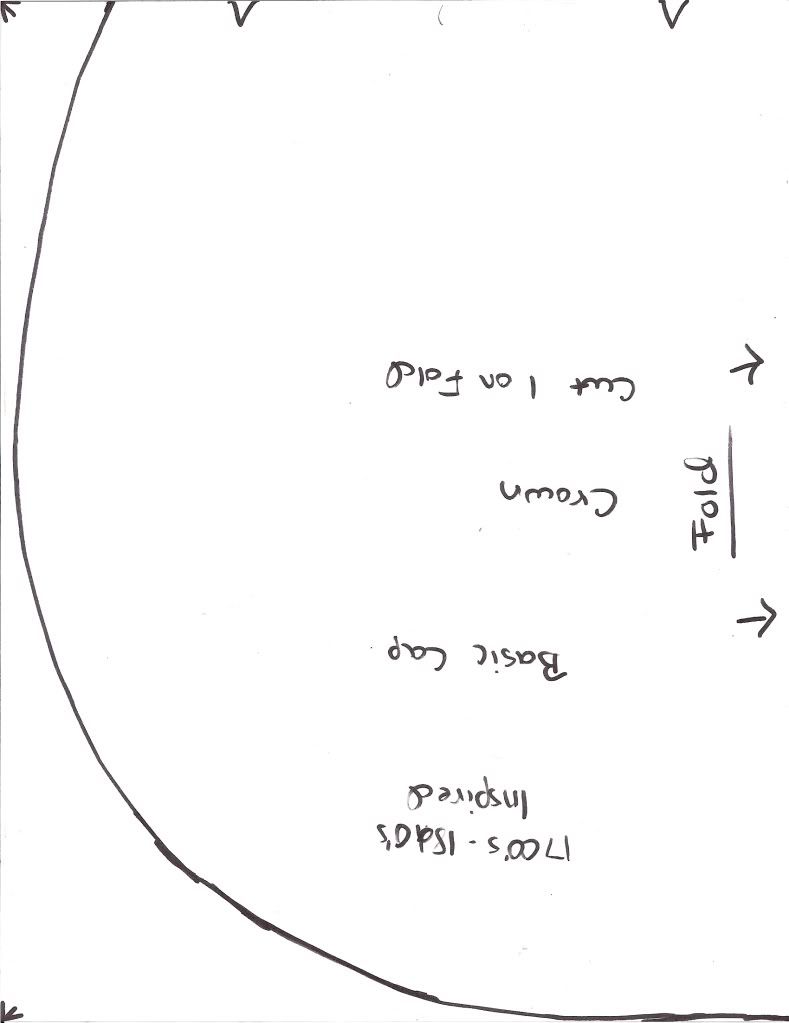
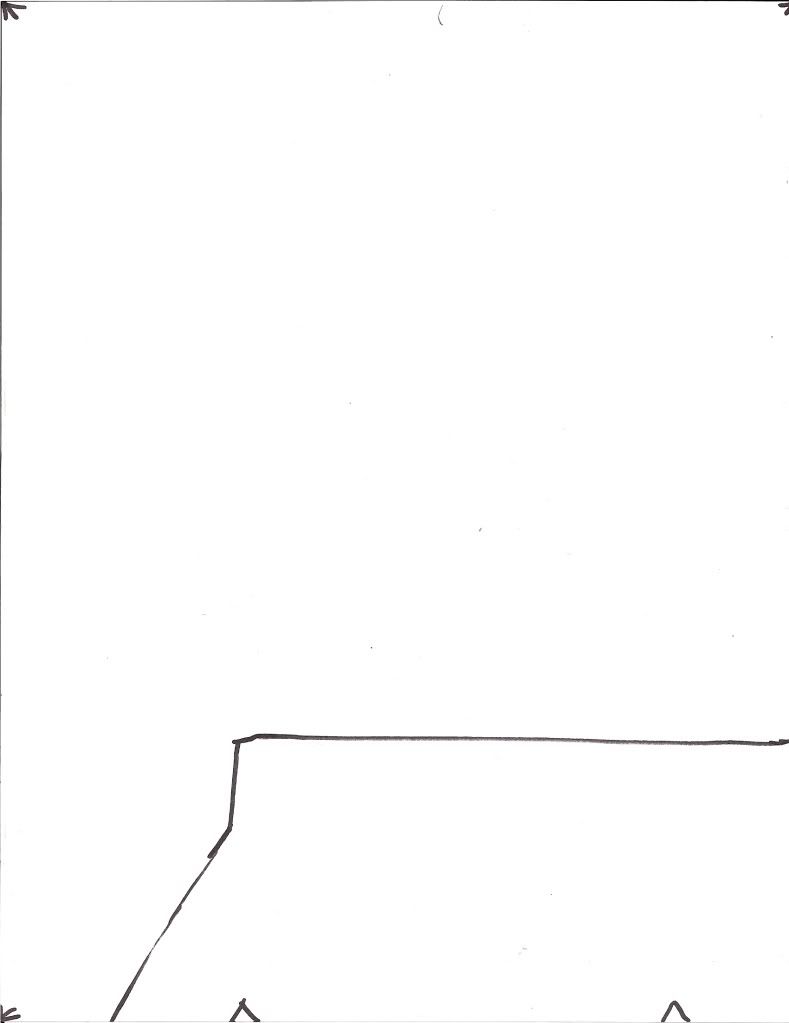
Please click on the pattern pieces below to be taken to the file for each piece. The crown is in two pieces and you will have to tape them together to get the final shape. Match the triangles and cutting line.
Cut two brim pieces on the fold out of your fabric. If desired, you may cut your brim piece onto fresh folded paper, placing the fold against the fold, to create a complete brim pattern. You can then lay this pattern on your fabric with the longest edge against the fold. This way, you do not have a long seam around the face edge and will have to sew only the two short sides.
You will also need to cut the following pieces:
2 Drawstrings for back neck, each appx. 8-10” long. These can be made from narrowly hemmed fabric strips, or twill tape. Ribbon can also be used but does not hold a tie as well as tape or fabric.
2 Ties for securing cap under the chin, each appx. 12-16” long. As for the drawstrings, you can make these of fabric or use tape or ribbon.
Construction:
All seams for a ½” seam allowance.
Brim:
*For Two-Piece Brim -
Lay your two brim pieces on top of each other, right sides together, matching corners. Pin baste and stitch around two short sides and longest side, starting and stopping ½” from the edge of the shorter “back“ edge (where the gathered crown will be attached). Clip corners, trim seam allowances, turn right sides out and press. Set aside.
*For One-Piece Brim -
Press brim, right sides together. Pin two short side seams. Starting at long “face” edge, stitch the seams, stopping ½” from the edge of the shorter “back” edge. Clip corners, trim seam allowances, turn right sides out and press.
Crown:
Create drawstring casing at the back neck edge by turning straight edge up ¼” and again ½”. Press. Fold crown in half lengthwise and press to find center. Open the crown back out and mark two dots appx. ½” from the center, pressed mark on the drawstring casing. Going only through the turned-up edge of the casing, make two eyelets through which to thread your drawstrings. Once your eyelets are made, re-press casing up and stitch in place. Thread your drawstrings through the two eyelets and pin them at each side while you finish the crown.
Run gathering stitches all around curved edge of crown. Draw them up to fit the brim. Right sides together, pin crown to brim, pinning only to the top layer of the brim. Stitch, being sure to catch edges of drawstrings in this seam on either side, and remove gathering stitches.
Finishing:
Finish the inner seam by turning under the free edge of the brim ½” and pinning to the stitch line, enclosing all raw edges. Slip stitch to stitching line.
Attach ties at the lower corners of the brim.
Wear with your favorite historical gown and enjoy!
Below are photos of a white striped cotton cap made from this pattern with tape ties.
 Using the same pattern with heavier fabrics resulted in a warm and cozy bonnet like cap. This one is made of deep blue velvet and has a 2 piece brim with the lower brim being brown cotton twill.
  The crown is lined with cream colored silk and black ribbon used for the ties.